Sharp IR Servo Plug Tip
This post is really a tip rather than a tutorial. Within it I will demonstrate how I prepare sensors and components such as Sharp IR’s to be compatible with the ServoBot Shield. Essentially all that’s really going on here is the fitting of servo plugs so that whatever component can easily be plugged into the shield, and then removed again if necessary.
I think that this is a really useful way of being able to connect sensors so that they can be changed as I see fit whilst also ensuring that the connections are secure.
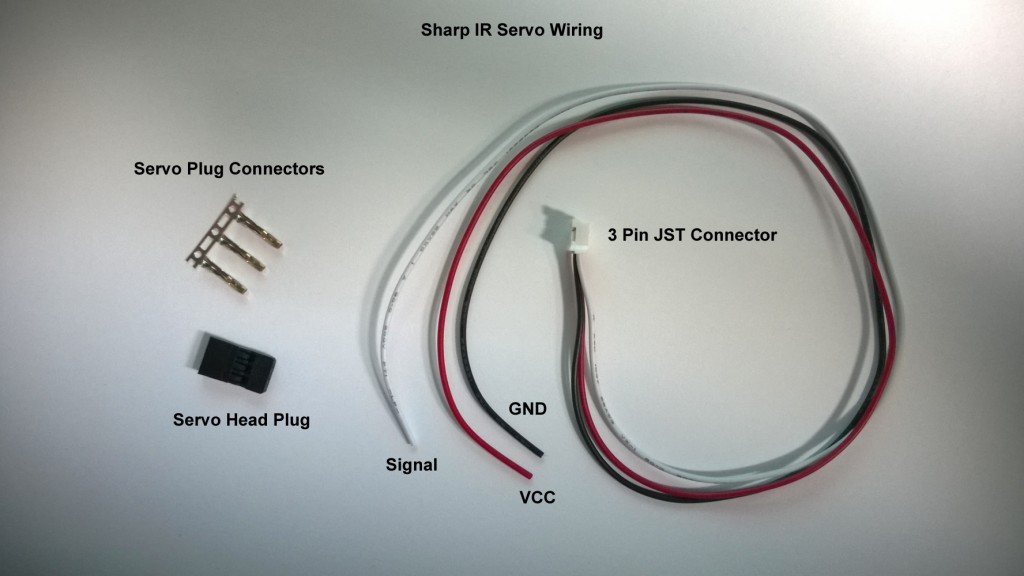
Figure 1: Servo Connector Parts
Required Parts
Figure 1 and bellow details all the parts needed to fit servo plugs to a Sharp IR.
- A three pin JST connection cable
- A servo plug and connection pin set.
I got my Servo Plugs from Amazon, and my JST connection cables from Cool Components.
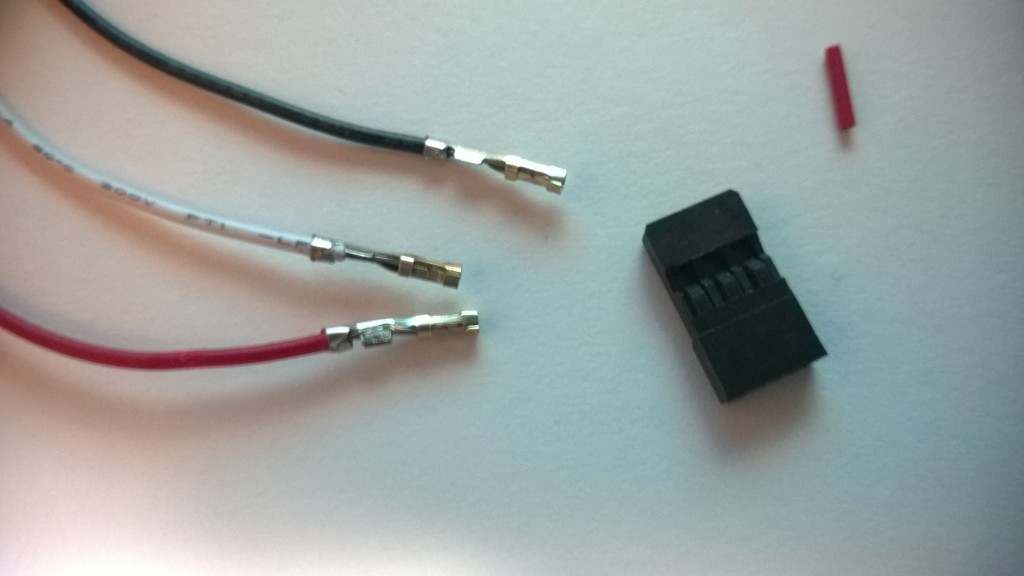
Figure 2: Cables with Crimped Connections
The first thing you need to do is crimp the connectors that come with the servo plug onto each of the JST’s cables.
Crimping the Connector Wires
This is dead easy to do and simply consists of crimping down each connector with a standard pair of pliers. Once this has been done you then just slip each connector into the plugs casing.
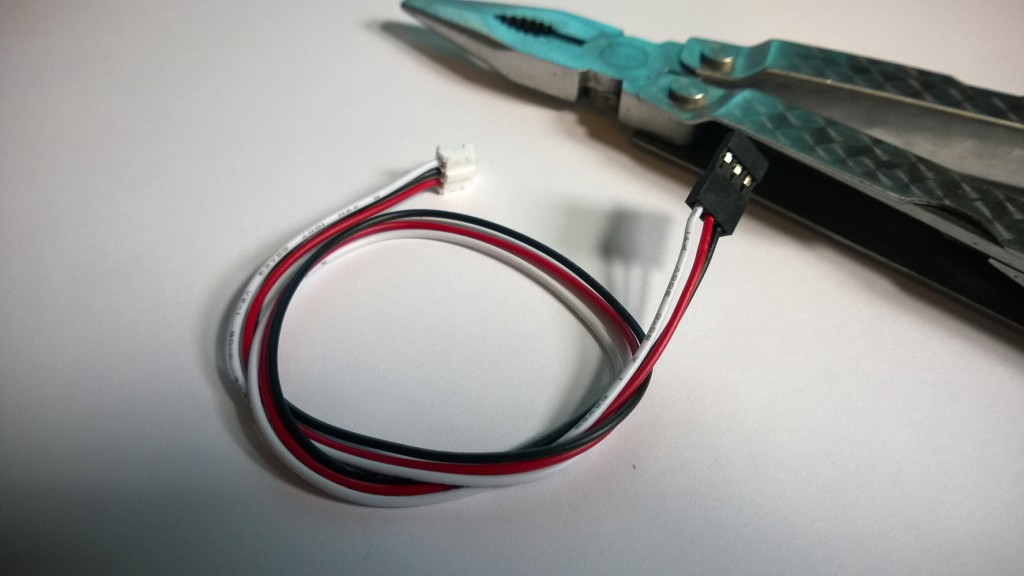
Figure 3: The Completed Servo Plug
The Servo Wiring Convention
All servo plugs are wired in a standard order so that they are compatible with each other.
This convention is: the Signal line, the Positive line and finally the Ground line when looking at the plug from the underside.
This can be seen in Figure 3 as White, Red and Black.
For those of you not in the know, a Sharp IR Sensor is a great little pre packaged distance sensor that can be used for basic obstacle avoidance and determining the distance to an object. If you would like to know more about these sensors and their theory of operation, check out my Arduino and the Sharp IR Proximity Sensor post.


